1. Step-by-Step DIY Fixes
Issue: Common Printer Problems at Home
Hit print and nothing happens? Maybe the paper jams halfway through, or your document looks distorted. These everyday printer problems are more common than you think—and most don’t need a technician. With a few simple steps, you can fix them yourself.
Common Causes
- Stuck or pending print jobs
- Loose power or USB connections
- Outdated drivers or printer settings
- Improperly loaded paper or low ink
- Glitches that a simple reboot can fix
DIY Fixes You Can Try Right Away
1. Clear the Print Queue
- Go to “Devices and Printers” on your computer.
- Right-click your printer and select “See what’s printing.”
- Cancel any stuck print jobs and try printing again.
2. Restart Your Printer and Devices
- Turn off the printer, unplug it for 30 seconds, then power it back on.
- Restart your computer to clear temporary glitches.
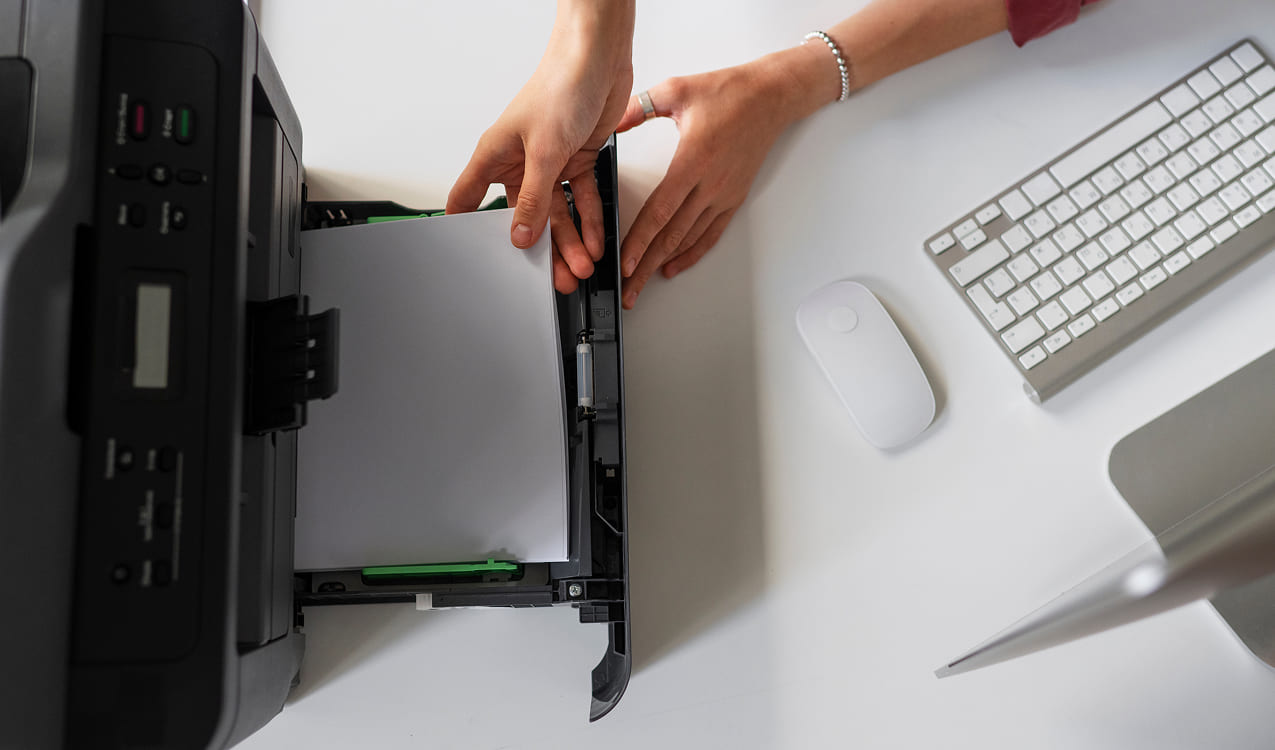
3. Check Paper, Ink, and Cartridges
- Make sure paper is loaded properly—no bends or moisture.
- Verify ink or toner levels through the printer screen or app.
- Secure or replace any loose or empty cartridges.
4. Reconnect the Printer
- For USB connections, ensure the cable is securely plugged in.
- For wireless, reconnect to your Wi-Fi via the setup wizard.
- Run a test print to confirm everything is functioning.
How to Avoid Future Printer Problems
- Don’t overfill the paper tray—stick to the suggested amount.
- Print a test page weekly to prevent ink from drying out.
- Keep your drivers and firmware up to date.
- Store your printer in a clean, dry, and well-ventilated area.
3. Print Quality Troubleshooting
Issue: Faded, Blurry, or Uneven Print Results
You hit print—and instead of a crisp page, you get streaks, faded lines, or blotchy text. Whether you're printing photos or documents, poor print quality can be frustrating. The good news? Most issues have simple, at-home fixes.
Common Causes of Poor Print Quality
- Dried or clogged printheads
- Misaligned ink cartridges
- Low or uneven ink levels
- Incorrect paper settings or print mode
- Moist, damaged, or low-quality paper
DIY Fixes You Can Try Right Now
1. Run a Printhead Cleaning Cycle
- Open your printer’s settings or maintenance menu.
- Select Clean Printhead or Nozzle Check.
- If the issue remains, repeat the cleaning 2–3 times for better results.
2. Align the Ink Cartridges
- Select the Align Cartridges option via your printer screen or app.
- Follow the on-screen steps and print an alignment sheet.
- This fixes fuzzy, overlapping, or misaligned text and images.
3. Check Ink Levels and Replace if Necessary
- Check ink or toner levels through your printer’s interface or companion app.
- Replace low or empty cartridges with the correct, brand-approved type.
- Avoid expired or non-genuine cartridges, which can affect print consistency.
4. Use the Right Paper Type
- Select the correct paper setting in your print dialog (plain, photo, glossy, etc.).
- Ensure paper is dry, smooth, and properly loaded.
- Store paper in a cool, dry place to prevent moisture-related issues.
5. Adjust Print Quality Settings
- In your print dialog box, review the selected print quality mode.
- Use Normal for regular documents, and High or Best for photos.
- Avoid Draft Mode unless speed matters more than quality.
Tips to Maintain Great Print Quality Long-Term
- Print a test page every few days to prevent ink from drying up.
- Keep the printer dust-free and close trays when not in use.
- Use original cartridges for reliable performance and longer printer life.
- Don’t leave printers idle for too long—especially inkjet models.
5. Performance & Speed Tips
Issue: Slow Printing or Lag in Printer Response
Your document finally starts printing—but it takes forever to finish a page. Or there’s a long delay between hitting "Print" and the job actually starting. Slow printer performance is frustrating, but thankfully, most causes have easy DIY fixes.
Common Causes of a Slow Printer
- High-resolution settings or complex file types
- Overloaded print queue or background processes
- Outdated firmware or drivers
- Weak Wi-Fi signals or slow USB ports
- Limited memory or slow internal processing
DIY Fixes to Speed Up Your Printer
1. Lower the Print Quality for Everyday Use
- In your print dialog, switch from High or Best quality to Draft or Normal.
- Perfect for internal documents, drafts, or quick notes.
2. Clear the Print Queue
- Go to Devices and Printers > Right-click your printer > See What’s Printing.
- Cancel any pending, stuck, or paused jobs.
3. Use a Wired Connection
- Connect your printer via USB instead of relying on Wi-Fi, especially for large files or photos.
- This improves data transfer speed and print responsiveness.
4. Update Your Printer Drivers & Firmware
- Go to the official website of your printer manufacturer.
- Download and install the latest drivers and firmware.
- Updates often resolve speed, compatibility, and stability issues.
5. Break Up Large Print Jobs
- Instead of printing an entire 50-page PDF, send 10–15 pages at a time.
- This prevents crashes or overload and ensures smoother operation.
6. Restart Printer and Router
- Power off your printer, wait 30 seconds, and restart.
- Restart your Wi-Fi router to improve wireless printing performance.
Pro Tips for Keeping Your Printer Fast
- Keep firmware, drivers, and printer software updated.
- Clean your printer regularly to prevent dust and debris buildup.
- Don’t overload the printer queue—send one job at a time when possible.
- Use “Draft Mode” for internal documents and only switch to high-quality settings when needed.
- Free up space on your PC or device to avoid lag with large or graphic-heavy files.
2. Wi-Fi & Connectivity Help
Issue: Printer Won’t Connect to Wi-Fi or Mobile Devices
You’re ready to print from your phone or laptop—but your printer isn’t showing up on the network. Wireless connection issues are extremely common, especially in home setups. Fortunately, they’re usually simple to fix once you know what to check.
Common Causes of Wireless Printer Issues
- Printer and device are on different Wi-Fi networks
- Incorrect Wi-Fi password or outdated network settings
- Weak Wi-Fi signal or the printer is too far from the router
- Outdated firmware or missing drivers
- Temporary memory glitches in the printer or router
Quick DIY Fixes
1. Restart Your Printer and Router
- Turn off the printer and unplug your router.
- Wait 30 seconds, plug the router back in, then turn on the printer.
- Often resolves temporary connection issues.
2. Ensure Both Devices Are on the Same Network
- Make sure your phone/laptop and printer are connected to the exact same Wi-Fi network.
- Avoid guest networks or mobile hotspots—they may block communication.
3. Reconnect the Printer to Wi-Fi
- On your printer, go to Network Settings > Wireless Setup Wizard.
- Select your Wi-Fi name and re-enter the password carefully.
- Print a network status/configuration report to verify the connection.
4. Update Drivers and Firmware
- Visit your printer brand’s support website.
- Download and install the latest driver and firmware updates.
- Many printers also offer “Update Firmware” options in their control panel or app.
5. Use WPS (If Available)
- If your router and printer support WPS, press the WPS button on both.
- It creates a secure connection without needing to enter a password.
Tips to Prevent Future Wi-Fi Drops
- Keep your printer within 10–15 feet of the router for a stable signal.
- Avoid obstacles like thick walls, microwaves, or metal cabinets.
- Print a test page weekly to maintain network activity and prevent idle disconnects.
- Assign a static IP address to your printer in your router settings to reduce conflicts.
- Minimize network changes—renaming Wi-Fi or updating passwords will disconnect all devices.
4. Ink Cartridge & Alignment Checks
Issue: Printer Not Printing Clearly or Skipping Sections
Your printer powers on and begins the job—but the page comes out missing colors, with faint text, or completely blank. These problems are usually caused by cartridge or alignment issues, and the good news is: you can fix them yourself.
Common Causes
- Loose or incorrectly installed ink cartridges
- Low, empty, or dried-out ink
- Cartridges not recognized by the printer
- Misaligned printhead
- Clogged or dusty nozzles
DIY Solutions to Fix Ink & Alignment Problems
1. Check Ink Levels and Replace if Necessary
- Access your printer’s settings or app to check current ink levels.
- Replace any cartridge that’s empty or showing low ink.
- Use compatible and high-quality ink for best results.
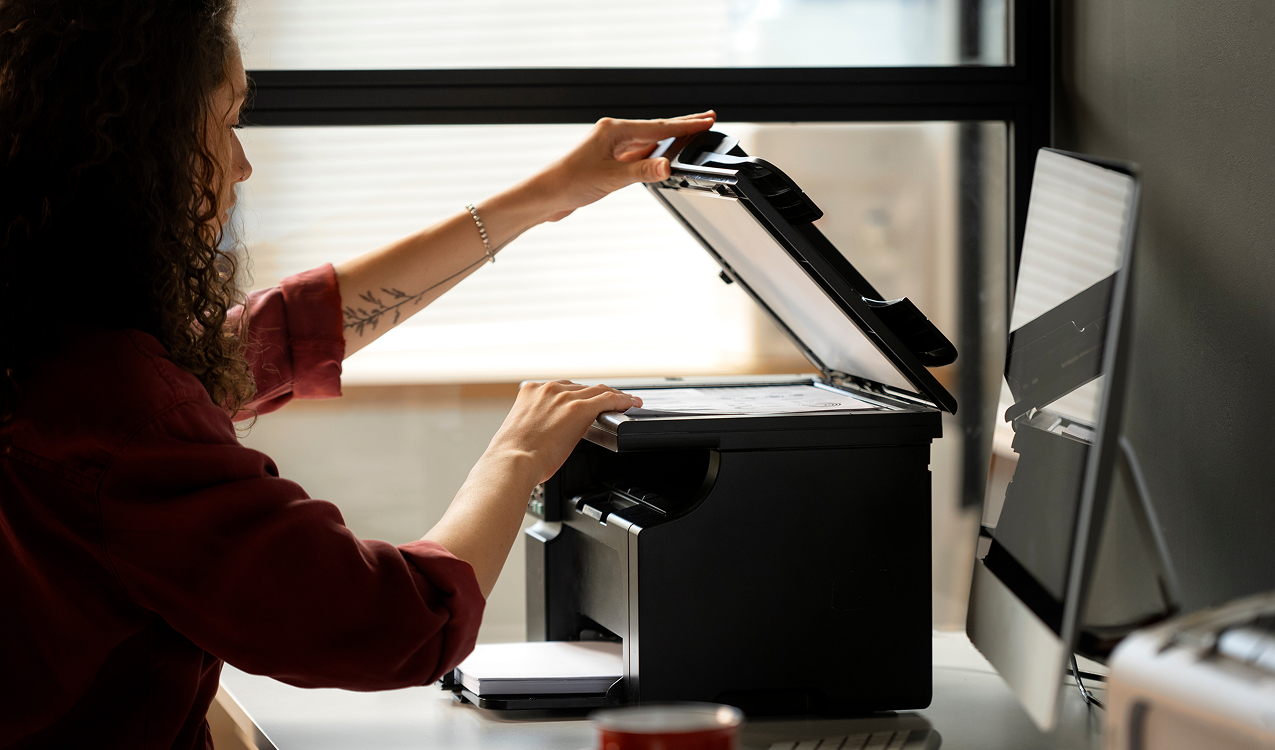
2. Reseat the Ink Cartridges
- Lift the printer lid and gently remove each cartridge.
- Reinsert them firmly until you hear a click.
- Ensure no protective tape or seals remain on new cartridges.
3. Clean the Cartridge Contacts
- Use a lint-free cloth slightly moistened with distilled water.
- Wipe the copper contacts on both the cartridge and the printer slot.
- Allow all components to dry completely before reinserting.
4. Align the Printhead
- Use the built-in “Align Printhead” or “Align Cartridges” function via your printer menu or app.
- Follow prompts to print a calibration sheet and complete the process.
- Proper alignment improves print clarity and prevents streaks.
5. Print a Test Page
- After all adjustments, print a test page to check for improvements.
- If issues persist, repeat the alignment or run a printhead cleaning cycle.
Tips to Prevent Ink & Alignment Problems
- Avoid letting ink cartridges sit unused for extended periods—they can dry up.
- Store ink upright in a cool, dry location.
- Print a small document every few days to keep ink flowing.
- Replace cartridges promptly when you see faded prints or low-ink warnings.
- Keep your printer’s firmware updated for accurate cartridge detection.
6. Error Code Explanations
Issue: Printer Showing Blinking Lights or Error Codes
You try to print, but your printer flashes unfamiliar lights, displays a strange error like E03 or 0x6100004a, or shows “Paper Jam” even when there’s none. Error codes can be frustrating—but they’re just your printer’s way of telling you what’s wrong.
Common Causes
- Paper jams or faulty sensors
- Ink cartridge issues or printhead misalignment
- Network or USB connection errors
- Low ink or toner warnings
- Internal hardware miscommunication
How to Understand and Fix Common Error Codes
1. Look Up the Exact Error Code
- Check your printer’s display or connected software for the full code.
- Visit the official support site or your user manual for definitions.
- Search our blog—we explain many codes in easy, step-by-step terms.
2. Restart the Printer
- Turn off the printer and unplug it from power.
- Wait at least 30 seconds, then plug it back in and power on.
- Many temporary issues clear up with a simple reboot.
3. Inspect for Paper Jams or Debris
- Open all access panels and trays—look for stuck paper, clips, or dust.
- Use a flashlight to check inside rollers and feeding paths.
4. Reseat Cartridges or Reconnect Connections
- Remove and firmly reinsert ink cartridges to ensure contact.
- Check that the USB cable is secure (if using wired setup).
- Reconnect your printer to Wi-Fi using the setup wizard if needed.
5. Run a Self-Test or Diagnostic Page
- Use your printer’s built-in test options to print a diagnostic page.
- This can reveal alignment, ink, or hardware problems.
Some Common Printer Error Codes Explained
- E03: Paper jam (even if invisible)—check thoroughly.
- E05: Cartridge not detected—remove and reinsert.
- 0x6100004a: Internal hardware fault—restart or reset.
- “Printer Offline”: Often a USB or Wi-Fi disconnection.
- Low Ink Warnings: Still prints—but monitor levels closely.
Tips to Prevent Frequent Errors
- Shut down your printer properly when not in use.
- Clean it regularly—dust and debris cause most phantom jams.
- Use quality paper and compatible cartridges.
- Don’t ignore early alerts—they often hint at bigger issues ahead.
- Bookmark our blog for quick error code guides and DIY fixes.